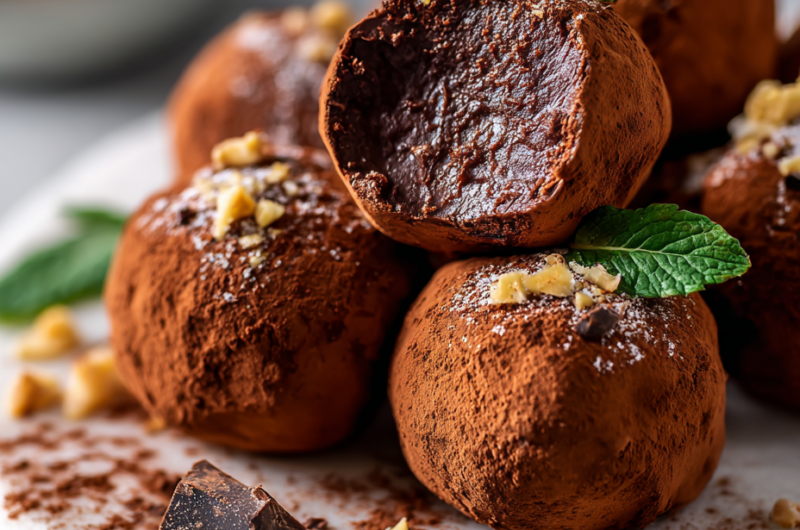
Some nights call for something sweet but simple, and these no bake chocolate truffles fit that bill perfectly. They come together in no time, no oven required, just a few pantry staples that feel like a mini luxury. It’s my go-to when I want a quick, satisfying chocolate fix without the fuss.
What I love most is how forgiving this recipe is—no precise tempering or rolling needed. Just melt, mix, chill, and shape. It’s a small act of comfort that feels like a little treat, especially when I need a break from more complicated baking. Plus, the rich, fudgy texture always makes me smile, no matter how busy the day.
This recipe is inspired by those nights when I need something sweet but don’t want to turn on the oven or fuss with complicated steps. It’s about quick comfort, using simple ingredients I always have around, turning a few pantry staples into a rich, satisfying treat. It’s a reminder that sometimes, the best desserts are the easiest to whip up in a pinch.
Simplicity in Every Bite
- This recipe reminds me of childhood afternoons, where a simple chocolate treat could brighten any day.
- I love how these truffles feel like a tiny rebellion against complicated desserts—quick, rich, and totally satisfying.
- Sometimes, I make these when I need a moment of calm, the smooth chocolate melting on my tongue is therapy enough.
- Sharing these truffles with friends always sparks a little joy and nostalgia, no matter the occasion.
- There’s a quiet pride in turning pantry staples into something so indulgent and beautiful with just a few steps.
Inspiration from a Cozy Moment
This recipe came about late one rainy afternoon when I was rummaging through my pantry, craving something rich but didn’t want to turn on the oven. I remembered a batch of cocoa powder and a bit of cream I had tucked away, and suddenly, it clicked—no bake, no fuss, just pure chocolate comfort. It’s a small reminder that sometimes, the simplest ingredients can create the most satisfying treats, especially when time is tight or the mood calls for something cozy and indulgent.
Trivia and Historical Tidbits
- These truffles likely originated in Europe, where chocolate confections have a long, decadent history dating back to the 19th century.
- The name ‘truffle’ might come from the shape resembling the underground fungi, but in confectionery, it signifies a luxurious bite-sized indulgence.
- During wartime rationing, resourceful cooks used pantry staples like cocoa, butter, and condensed milk to craft rich, no-fuss treats like these.
- Modern no-bake truffles gained popularity in the late 20th century as a simple way to satisfy chocolate cravings without heating up the kitchen.
Key Ingredients Breakdown
- Unsweetened cocoa powder: I love how it adds that intense, oozing chocolate flavor with a slightly bitter edge—swap for dark cacao if you want a richer scent, but avoid sweetened varieties that can throw off the balance.
- Heavy cream: It creates that silky, fudgy texture—if you’re out, coconut cream works well, though it lends a hint of coconut aroma and slightly different richness.
- Butter: I use unsalted for control over the saltiness—melted butter makes mixing easier, but margarine can work if you’re in a pinch; expect a slightly different mouthfeel.
- Sweetener (icing sugar or powdered sugar): It smooths out the bitterness—powdered sugar dissolves best; skip or reduce if you prefer a more intense cocoa punch.
- Vanilla extract: Just a splash enhances the chocolate depth and adds warmth—try almond extract for a different aroma, but keep it subtle to not overpower.
- Optional toppings (cocoa powder, chopped nuts, coconut): I like rolling in cocoa for a classic look; nuts add crunch, and coconut lends a tropical feel—try toasted for extra aroma.
- Salt: A pinch heightens the chocolate flavor—if you’re sensitive, start small and taste; sea salt flakes add nice shimmer and contrast.
Spotlight on key ingredients
Cocoa powder:
- Unsweetened cocoa powder: I love its deep, oozing chocolate punch with a slightly bitter edge—swap for dark cacao for an even richer aroma, but avoid sweetened varieties that can dilute the flavor.
- Heavy cream: It gives that silky, fudgy texture—if you’re out, coconut cream works well, adding a hint of coconut aroma and slightly different richness.
- Butter: I use unsalted to control saltiness—melted butter makes mixing easier, but margarine can work if you’re in a pinch; expect a slightly different mouthfeel.
Heavy cream:
- It creates that silky, fudgy texture—if you’re out, coconut cream works well, though it lends a hint of coconut aroma and slightly different richness.
- Butter: I use unsalted for control over the saltiness—melted butter makes mixing easier, but margarine can work if you’re in a pinch; expect a slightly different mouthfeel.
- Vanilla extract: Just a splash enhances the chocolate depth and warmth—try almond extract for a different aroma, but keep it subtle to not overpower.
Ingredient Swap Tips
- Dairy-Free: Swap heavy cream for coconut cream or full-fat coconut milk. Expect a slightly coconut aroma and a firmer texture.
- Vegan: Use plant-based butter (like coconut oil or vegan margarine) and dairy-free chocolate. The flavor stays rich but with a different cocoa depth.
- Sweetener: Replace powdered sugar with maple sugar or coconut sugar. These add a deeper, caramel-like note and slightly granular texture if not powdered.
- Flavor Boost: Add a pinch of chili powder or espresso powder for an unexpected kick that enhances deep chocolate flavor.
- Nut-Free: Skip nuts or use toasted sunflower or pumpkin seeds for crunch. These won’t melt into the chocolate but add a nice texture contrast.
- Toppings: Roll in crushed pretzels or cookie crumbs instead of traditional toppings for a salty-sweet twist.
- Cocoa Powder: Use Dutch-processed cocoa for a smoother, less acidic flavor; natural cocoa will give a brighter, more tangy note.
Equipment & Tools
- Heatproof mixing bowl: For melting and mixing the chocolate and cream.
- Small saucepan: Gently warms the cream without overheating.
- Spatula: Stirring and combining ingredients smoothly.
- Baking sheet: To hold and chill the shaped truffles.
- Parchment paper: Prevent sticking and easy cleanup.
- Teaspoon or small cookie scoop: Portioning and shaping the truffles evenly.
Step-by-step Guide to No Bake Truffles
- Equipment & Tools: Gather a heatproof mixing bowl, spatula, small saucepan, baking sheet, and parchment paper. The bowl is for melting and mixing, saucepan for gently warming cream, and parchment for shaping the truffles.
- Heat the cream: Pour 120 ml (½ cup) of heavy cream into the saucepan. Warm over low heat until just steaming—about 3-4 minutes. Do not boil; steam should rise without bubbling vigorously.
- Melt the chocolate: Place 200 g (7 oz) of unsweetened cocoa powder and 50 g (¼ cup) of butter in the heatproof bowl. Pour the hot cream over, let sit for 1 minute, then stir until smooth and glossy.
- Add flavoring: Mix in 1 teaspoon vanilla extract and 2-3 tablespoons powdered sugar. Stir well until the mixture is thick, shiny, and cohesive. If it feels too runny, chill for 10 minutes.
- Chill the mixture: Cover the bowl with plastic wrap. Refrigerate for about 1-2 hours, until firm enough to scoop but not frozen solid—aim for a fudge-like consistency.
- Shape the truffles: Using a teaspoon or small cookie scoop, portion out the chocolate. Roll quickly in your hands to form small balls, about 2 cm (¾ inch) diameter. Place on parchment-lined baking sheet.
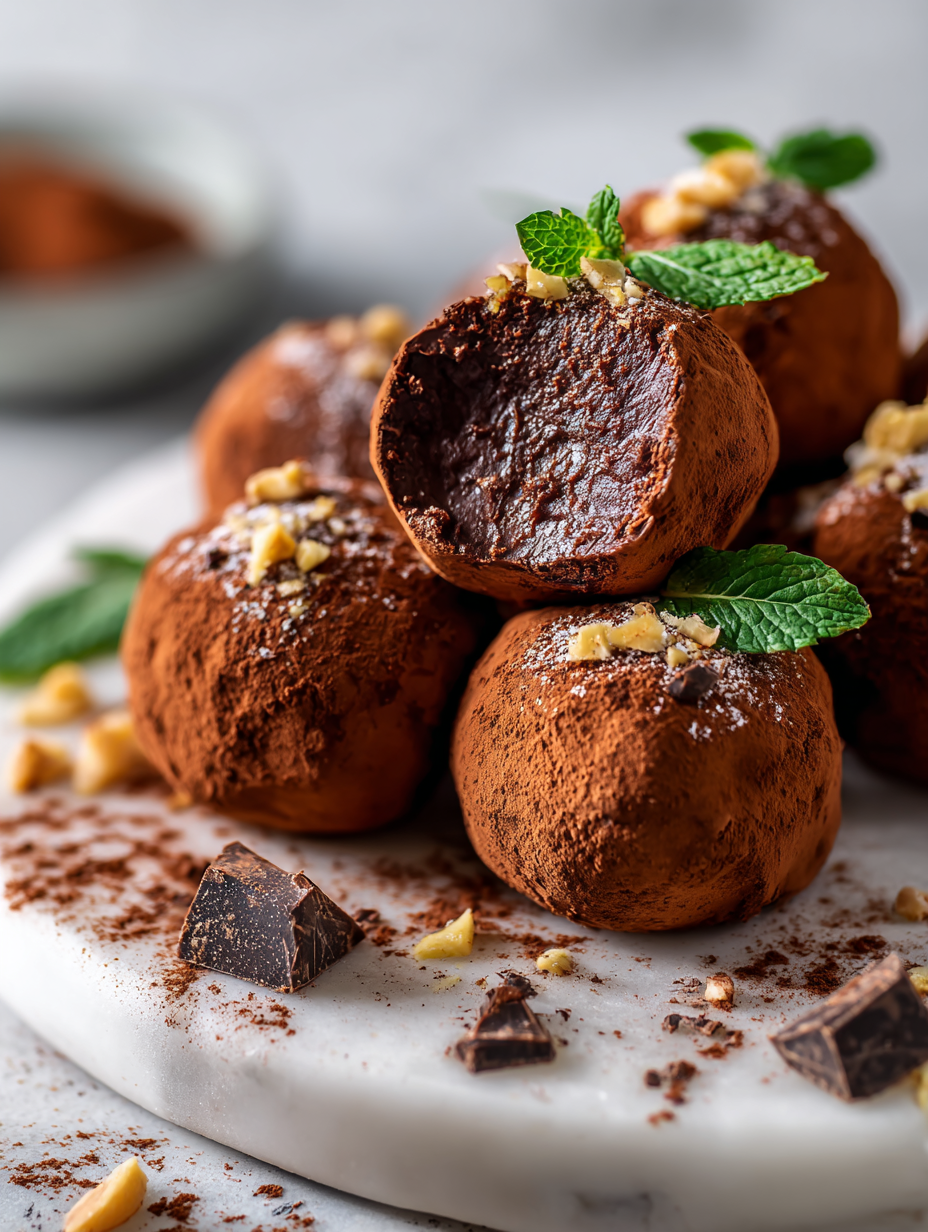
- Optional coatings: Roll the truffles in cocoa powder, chopped nuts, or shredded coconut. For a smoother finish, dust with a fine sieve.
- Chill to set: Refrigerate the shaped truffles for at least 30 minutes to firm up. If making ahead, they can stay in the fridge for up to 3 days or frozen for longer storage.
- Serve & enjoy: Bring to room temperature before serving—about 10 minutes out of the fridge—to maximize flavor and texture. The exterior should be slightly matte, with a soft, fudgy center.
Chill the shaped truffles on the baking sheet for at least 30 minutes. Serve at room temperature for best flavor and texture. Keep stored in an airtight container in the fridge for up to 3 days, or freeze for longer. Let sit at room temp for 10 minutes before serving to soften slightly.
How to Know It’s Done
- The chocolate mixture should be glossy and thick enough to hold shape when scooped.
- The truffles should feel firm but not hard when gently pressed—like soft fudge.
- The exterior coating should be matte and not greasy, with no visible oil separation.
No Bake Chocolate Truffles
Ingredients
Equipment
Method
- Pour the heavy cream into a small saucepan and warm over low heat until just steaming, about 3-4 minutes. You should see gentle steam without vigorous bubbling.
- Place the cocoa powder and butter in a heatproof mixing bowl. Pour the hot cream over and let sit for 1 minute.
- Stir the mixture with a spatula until smooth, glossy, and well combined, creating a thick chocolate paste.
- Add the powdered sugar, vanilla extract, and a pinch of salt. Mix thoroughly until the mixture is thick, shiny, and cohesive.
- Cover the bowl with plastic wrap and refrigerate for 1-2 hours until the mixture firms up to a fudge-like consistency.
- Once chilled and firm, use a teaspoon or small cookie scoop to portion out the mixture.
- Roll each portion quickly between your palms to form small, smooth balls about 2 cm in diameter.
- Optional: Roll the truffles in cocoa powder, chopped nuts, or shredded coconut for a decorative and flavorful coating.
- Place the finished truffles on a parchment-lined baking sheet and refrigerate for at least 30 minutes to set.
- Serve the truffles at room temperature or chilled, enjoying their rich, fudgy interior and smooth exterior.
Tips & Tricks for Perfect Truffles
- Bolded mini-head: Use high-quality cocoa powder for a richer, more intense chocolate flavor that really shouts through.
- Bolded mini-head: Sift the powdered sugar before mixing to avoid lumps and achieve a smoother, more uniform coating.
- Bolded mini-head: Chill the mixture until just firm—about 1-2 hours—so it’s easy to scoop without melting your fingers.
- Bolded mini-head: When rolling, work quickly and lightly to prevent the mixture from becoming sticky or melting in your hands.
- Bolded mini-head: For a shiny finish, dust the truffles with a fine sieve of cocoa powder right before serving—no fingerprints needed.
- Bolded mini-head: If your mixture feels too soft, refrigerate for an additional 15-20 minutes; don’t rush the chilling, or they’ll be too soft to shape.
- Bolded mini-head: Store the truffles in an airtight container in the fridge—let sit at room temp for 10 minutes before serving for best texture.
Common Mistakes and How to Fix Them
- FORGOT to chill the mixture → Chill for at least 1 hour to firm up properly.
- DUMPED the mixture while too warm → Wait until it’s thick and fudge-like before shaping.
- OVER-TORCHED the chocolate → Use low heat and stir constantly to prevent burning and bitterness.
- MISSED the sensory check → Ensure truffles are firm but not hard, and coated evenly for perfect texture.
Quick Fixes and Pantry Swaps
- When mixture is too soft, splash in a bit more cocoa powder to firm it up.
- If truffles crack when shaping, patch with a tiny dab of melted chocolate and smooth over.
- Splash a pinch of salt into the chocolate if flavor feels dull—shimmer and depth will lift instantly.
- When the chocolate feels grainy, open the fridge and give it 5 minutes to stabilize—rescue from overmixing.
- Patch sticky hands by dusting with cocoa powder—prevents sticking and adds a rich aroma.
Prep, store, and reheat tips
- Prepare the chocolate mixture and chill for up to 2 days; the flavors meld and it firms up nicely.
- Shape the truffles and store in an airtight container in the fridge for 3 days maximum; the texture stays fudgy and fresh.
- You can freeze the uncoated or coated truffles for up to a month; let thaw in the fridge before serving to preserve texture.
- Refrigerated truffles will feel firm but soften slightly at room temperature in about 10 minutes, revealing their rich, fudgy interior.
- Avoid leaving them out at room temperature for too long—humidity can cause them to sweat or lose their shine.
Top questions about no bake truffles
1. Can I substitute the cocoa powder with chocolate chips?
You can use dark chocolate, but the flavor will be less sweet and more intense. Adjust the sugar if needed.
2. Can I use chocolate chips instead of cocoa powder?
Yes, melting chocolate chips works, just be sure to use high-quality chips that melt smoothly and avoid emulsifiers that affect texture.
3. How long do no bake truffles last in the fridge?
Storing in an airtight container in the fridge keeps them fresh for up to 3 days. Freezing extends this to a month.
4. How do I know when the mixture is ready to shape?
Chill the mixture until it’s firm enough to scoop—about 1 to 2 hours in the fridge. It should feel like fudge.
5. Can I freeze these truffles?
Yes, they can be frozen for up to a month. Thaw in the fridge for a few hours before serving.
6. What are good toppings for these truffles?
Yes, you can roll them in chopped nuts, shredded coconut, cocoa powder, or crushed cookies for extra texture.
7. Should I add salt to the recipe?
Adding a pinch of sea salt enhances the chocolate flavor and adds a nice contrast to the sweetness.
8. Can I make these dairy-free?
Use full-fat coconut milk or coconut cream as a dairy-free alternative. Expect a hint of coconut aroma.
9. Can I customize the flavor of the truffles?
Yes, be sure to adjust the sweetness if you use unsweetened chocolate or substitute ingredients with different flavor profiles.
10. What if the mixture is too soft or too hard?
If the mixture is too soft, chill it longer or add more cocoa powder. If too firm, let it warm slightly before shaping.
Making these no bake chocolate truffles is a small act of rebellion against busy days and complicated desserts. The rich aroma of melting chocolate and the silky texture in your mouth remind you that simplicity often delivers the most satisfying treats.
They’re perfect for spontaneous gatherings or when you need a quick, comforting indulgence. Plus, once you get the hang of shaping them, they become a little ritual—something sweet to look forward to, no fuss required.

Hi, I’m Grace Morgan, and welcome to my kitchen. This is a space shaped by family meals, curious hands reaching for snacks, paws under the table, and recipes that come together in the middle of real life. I’m a food blogger, a mother, and a passionate pet keeper. Most days, I’m cooking with one eye on the stove and the other on someone who needs me, whether that’s a child asking for a taste or a dog hoping something might fall.


