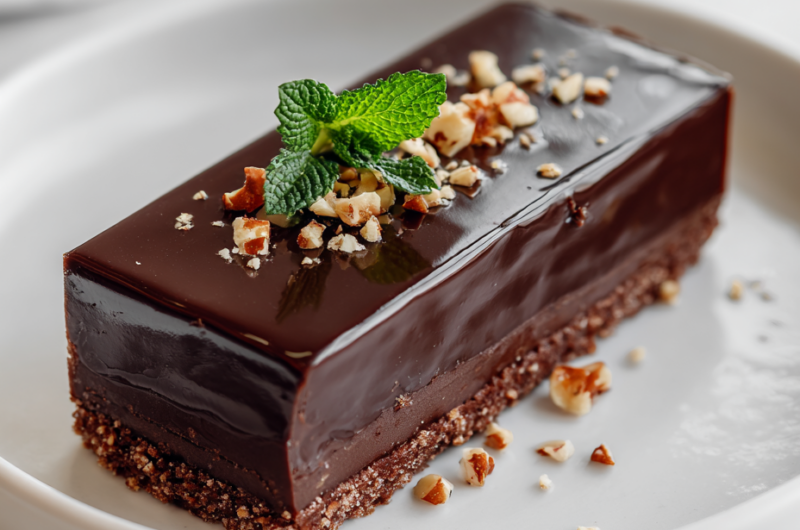
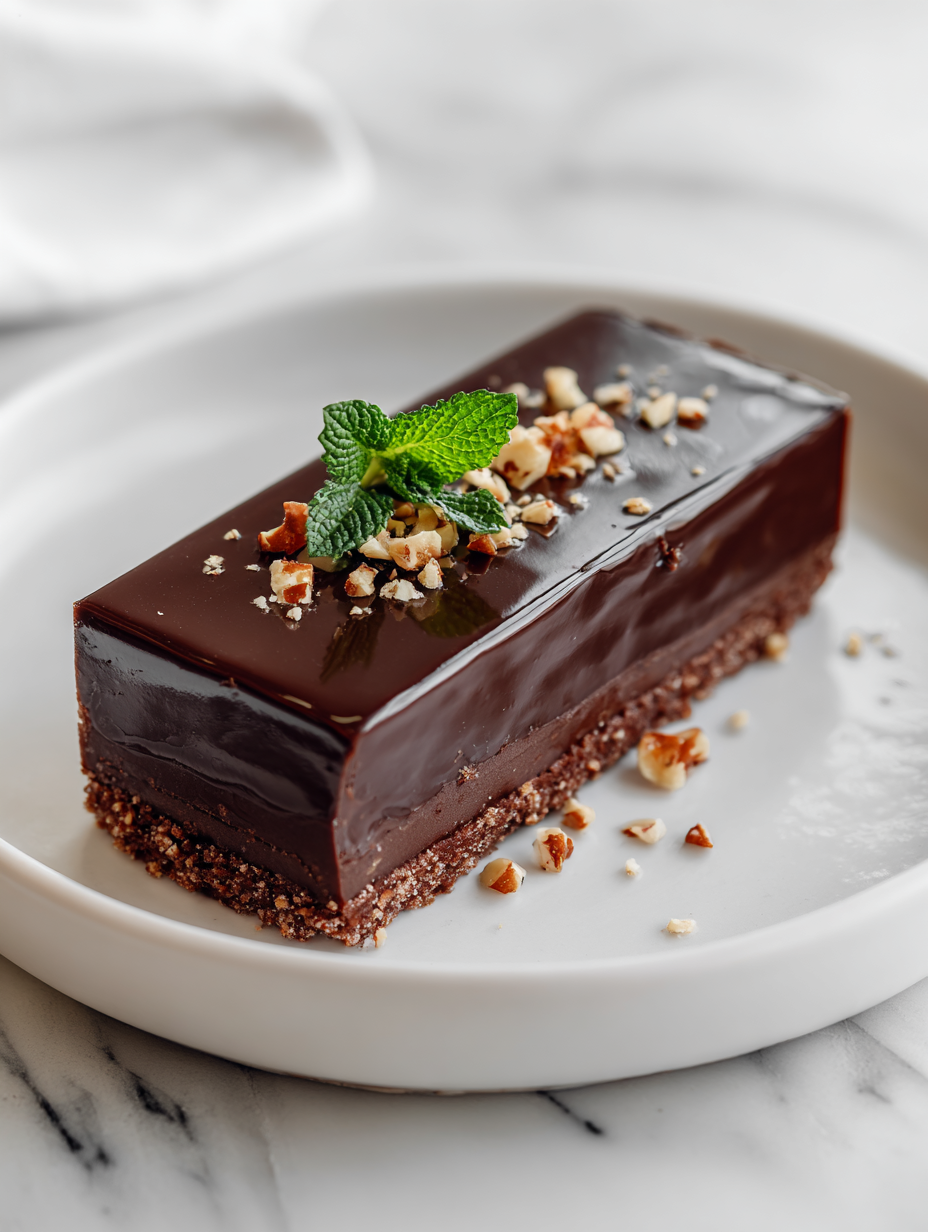
This no-bake chocolate slice is like a warm hug from childhood, but with a modern twist on texture. I love how the crunchy base gives way to a rich, creamy center that melts in your mouth. It’s the kind of treat that’s perfect for when you need something quick but memorable.
What makes this recipe special isn’t just its simplicity—it’s how the textures play with each bite. There’s a satisfying snap from the biscuit base, then a velvety chocolate layer that leaves a lingering, smoky sweetness on your tongue. It’s honest, no-fuss, and honestly, addictive.
This recipe is a nostalgic nod to childhood afternoons, but I’ve reimagined it with a focus on how the texture transforms in your mouth—crunchy edges giving way to a silky, melt-in-your-mouth center. It’s about the sensory journey, not just the sweet reward.
The story behind this recipe
- This recipe harks back to lazy weekend afternoons at my grandma’s house, where she’d whip up a batch of this chocolate slice in no time. It was always a quick fix for sweet craving chaos, and I loved how everyone gathered around the kitchen table, teeth sinking into that glossy, fudgy top. It’s funny how something so simple can carry so many memories, right?
- I’ve tweaked her version over the years, adding a little sea salt here and a splash of vanilla there, to sharpen the chocolate’s punch. Now, it’s become my go-to when life’s a bit hectic but I still want that familiar, comforting hit of cocoa. It’s a reminder that sometimes, the best treats are the ones you can throw together in minutes and still feel like a little celebration.
- heading: The story behind this recipe
Ingredient breakdown
- Dark chocolate: I love using a good-quality dark chocolate, it melts smoothly and gives that rich, slightly bitter edge. You can swap in milk chocolate if you prefer something sweeter, but it won’t have that intense cocoa punch.
- Butter: I always opt for unsalted butter, it helps the chocolate set perfectly without extra saltiness. For a dairy-free version, coconut oil works well—just expect a slightly different texture and a subtle coconut aroma.
- Sweetened condensed milk: It’s the glue that holds everything together, making the slice fudgy and luscious. If you want less sweetness or a dairy-free option, try coconut condensed milk or a thick honey syrup, but adjust the sweetness accordingly.
- Biscuit base: I use digestive biscuits because they give a nice, crumbly crunch. Graham crackers are a good substitute if you’re elsewhere, but avoid over-mashing—some texture keeps it interesting.
- Vanilla extract: Just a splash enhances the chocolate’s depth. Skip it if you’re out, but it really brightens the overall flavor, so don’t forget to add a bit if you can.
- Sea salt: A pinch of flaky sea salt on top elevates the sweetness and adds contrast. If you don’t have coarse salt, a tiny pinch of fine salt works too—just don’t overdo it.
- Optional toppings: I often sprinkle chopped nuts or sea salt flakes on top for extra crunch. You can skip these or swap for dried fruit shavings if you prefer a different texture or flavor profile.
Spotlight on key ingredients
Dark chocolate:
- I love using a good-quality dark chocolate, it melts smoothly and gives that rich, slightly bitter edge. You can swap in milk chocolate if you prefer something sweeter, but it won’t have that intense cocoa punch.
- Butter: I always opt for unsalted butter, it helps the chocolate set perfectly without extra saltiness. For a dairy-free version, coconut oil works well—just expect a slightly different texture and a subtle coconut aroma.
- Sweetened condensed milk: It’s the glue that holds everything together, making the slice fudgy and luscious. If you want less sweetness or a dairy-free option, try coconut condensed milk or a thick honey syrup, but adjust the sweetness accordingly.
Additional flavorings and toppings:
- Biscuit base: I use digestive biscuits because they give a nice, crumbly crunch. Graham crackers are a good substitute if you’re elsewhere, but avoid over-mashing—some texture keeps it interesting.
- Vanilla extract: Just a splash enhances the chocolate’s depth. Skip it if you’re out, but it really brightens the overall flavor, so don’t forget to add a bit if you can.
- Sea salt: A pinch of flaky sea salt on top elevates the sweetness and adds contrast. If you don’t have coarse salt, a tiny pinch of fine salt works too—just don’t overdo it.
Notes for ingredient swaps
- Dairy-Free: Swap butter for coconut oil—expect a slightly firmer slice with a subtle coconut aroma.
- Vegan Chocolate: Use plant-based dark chocolate and coconut condensed milk for a fully vegan version, though it may be less glossy.
- Sweetener: Replace condensed milk with honey or maple syrup—your slice will be less fudgy and slightly softer.
- Crunchy Base: Try graham crackers instead of digestives for a different crumb texture and a milder flavor.
- Add Nuts: Incorporate chopped almonds or hazelnuts into the mixture for extra crunch and nutty aroma.
- Flavor Boost: Mix a dash of espresso powder or chili flakes into the chocolate for a surprising depth or spicy kick.
- Salt: Use flavored sea salts like smoked or pink Himalayan for a more complex salty contrast.
Equipment & Tools
- 20cm (8-inch) square baking dish: Holds the slice and provides structure for setting.
- Saucepan: Melts the chocolate and butter gently.
- Mixing bowl: Combines ingredients smoothly without mess.
- Spatula: Spreads and presses mixture evenly into dish.
- Parchment paper: Prevents sticking and simplifies removal.
- Knife: Cuts the slice into neat portions.
Step-by-step guide to no bake slice
- Gather your equipment: a 20cm (8-inch) square baking dish, a saucepan, a mixing bowl, and a spatula. The dish will hold your slice, the saucepan melts the chocolate, and the bowl is for mixing.
- Line the baking dish with parchment paper, leaving some overhang for easy removal later. This prevents sticking and makes slicing easier.
- Melt the chocolate: chop 200g of dark chocolate into small pieces. Place in the saucepan over low heat (around 50°C/120°F). Stir gently until smooth and shiny. Keep an eye on it to prevent burning—if it starts to smell burnt or looks grainy, scrap and start again.
- Add 100g of unsalted butter to the melted chocolate. Stir until fully incorporated and the mixture is glossy. This gives the slice its rich, fudgy texture.
- Pour in 1/2 cup (120ml) of sweetened condensed milk. Mix thoroughly until smooth and well combined. You want a silky, thick chocolate custard now.
- Crush 150g of digestive biscuits into coarse crumbs—don’t over-mash; some texture keeps it interesting. Mix the crumbs into the chocolate mixture until evenly coated.
- Transfer the mixture into your prepared dish. Use the spatula to spread it out evenly, pressing down gently to compact. Smooth the surface for a neat finish.
- Refrigerate for at least 3 hours, or until firm. For best results, cover with plastic wrap. The slice should be set, shiny on top, and easy to cut.
- Once firm, lift out using the parchment overhang. Slice into squares or rectangles with a sharp knife. Clean the knife between cuts for clean edges.
- For a polished look, sprinkle a tiny pinch of sea salt or chopped nuts on top before serving. This adds a lovely contrast and crunch.
Refrigerate for at least 3 hours, up to overnight. Once set, lift out the slice using parchment overhang. Slice into squares with a sharp knife, wiping it clean between cuts. Serve directly or store in an airtight container in the fridge for up to 3 days.
How to Know It’s Done
- Chocolate mixture is smooth, shiny, and well combined before pouring.
- The base is evenly pressed and no cracks or gaps when set.
- Slice holds its shape and has a glossy, fudgy appearance when cut.
No-Bake Chocolate Slice
Ingredients
Equipment
Method
- Line your baking dish with parchment paper, leaving some overhang for easy removal. This makes lifting out the slice a breeze once it's set.
- Chop the dark chocolate into small, even pieces and set aside.
- In a saucepan over low heat, melt the butter and dark chocolate together, stirring gently. You'll notice a shiny, smooth mixture forming as the chocolate fully melts and combines with the butter.
- Remove the saucepan from heat and stir in the sweetened condensed milk until the mixture is silky and well blended, with a rich aroma filling your kitchen.
- In a separate bowl, crush the digestive biscuits into coarse crumbs—some small pieces are fine, just avoid over-mashing for texture.
- Fold the crushed biscuits into the chocolate mixture until evenly coated, creating a thick, fudgy batter.
- Pour the mixture into your prepared dish, then use a spatula to spread it out evenly and press down gently to compact everything nicely.
- Optional: sprinkle a pinch of sea salt or chopped nuts over the top for added flavor and crunch.
- Refrigerate the slice for at least 3 hours, or until it’s firm and shiny on top. Cover with plastic wrap if desired to prevent any fridge odors from seeping in.
- Once set, lift the slice out using the parchment paper overhang and transfer it to a cutting board. Use a sharp knife to cut into squares or rectangles, wiping the blade clean between each cut for neat edges.
- Serve your luscious chocolate slices immediately, or store leftovers in an airtight container in the fridge for up to three days. Enjoy the rich, melt-in-your-mouth texture with every bite!
Pro tips for perfect slices
- Use high-quality chocolate for a glossy, smooth melt that sets beautifully.
- Melt chocolate over very low heat or a double boiler to prevent scorching and graininess.
- Incorporate butter while chocolate is still warm for a velvety, fudgy texture.
- Press the mixture firmly into the dish to avoid air pockets and ensure clean slices.
- Chill the slice in the fridge for at least 3 hours until fully firm and shiny on top.
- Wipe your knife clean between cuts for sharp, neat edges without smudges.
- Sprinkle flaky sea salt or toppings just before slicing for a contrast that enhances flavor.
Common mistakes and how to fix them
- FORGOT to temper the chocolate → Melt slowly over low heat, avoid overheating.
- DUMPED in all ingredients at once → Add ingredients gradually, stirring continuously.
- OVER-TORCHED the chocolate → Remove from heat immediately if it smells burnt or looks grainy.
- MISSED the chilling step → Ensure the slice is fully set in the fridge before cutting.
Quick fixes and pantry swaps
- When chocolate seizes, splash in a teaspoon of hot water and stir gently.
- If mixture is too thick, gently warm it for 10 seconds, then stir well.
- DUMPED in all ingredients at once? Add gradually, stirring between each addition.
- Over-torched chocolate? Remove immediately, start with fresh chocolate if burnt smell persists.
- Shield cracks when slicing? Chill the slice longer, and wipe the knife between cuts for cleaner edges.
Prep, store, and reheat tips
- You can prepare the chocolate mixture up to 24 hours in advance; keep it covered in the fridge. The rich aroma of cocoa intensifies overnight.
- Store the sliced chocolate treat in an airtight container in the fridge for up to 3 days. The chocolate will firm up further, maintaining that glossy finish.
- For longer storage, freeze the slices wrapped tightly in plastic wrap and then in foil, up to 1 month. Thaw in the fridge before serving for best texture.
- Reheat slices briefly at room temperature to soften slightly—just a few minutes until the chocolate feels silky again and releases a deep cocoa smell.
- The flavors deepen after a day or two, with the chocolate becoming more intense and the biscuit base slightly softer but still crumbly and inviting.
Top questions about no bake chocolate slice
1. Can I use milk chocolate instead of dark?
Use good-quality dark chocolate for the smoothest melt and richest flavor. Cheaper chocolates can seize or become grainy.
2. Will it still set if I use milk chocolate?
Yes, but expect a sweeter, less intense cocoa flavor. Dark chocolate gives a richer, more complex taste.
3. How long does it take to set?
Make sure the mixture is well combined and pressed firmly into the dish. Chill for at least 3 hours until firm.
4. Can I add toppings or mix-ins?
Yes, you can add chopped nuts or dried fruits before chilling for extra texture and flavor.
5. How should I store leftovers?
Store slices in an airtight container in the fridge for up to 3 days or freeze for longer storage.
6. Can I decorate the top with anything?
Yes, melt some additional chocolate and drizzle over the top before chilling for a glossy finish.
7. How do I melt the chocolate properly?
Ensure the chocolate is melted slowly over low heat or a double boiler to avoid burning or graininess.
8. What if my chocolate mixture is too thick?
If the mixture is too thick, add a splash of warm milk or cream to loosen it up.
9. How do I get clean slices?
Use a sharp knife wiped clean between cuts for neat, clean slices without smudging or cracking.
10. What do I do if my chocolate seizes?
If the chocolate seizes or hardens unexpectedly, add a teaspoon of hot water and stir gently to smooth it out.
This no-bake chocolate slice is a reminder that simple ingredients can create something deeply satisfying. Its rich cocoa aroma and fudgy texture make it a cherished treat for whenever you need a quick fix. Sometimes, the most honest desserts are the ones that come together without fuss, yet carry so much comfort.
In a world that often moves too fast, this recipe offers a moment of honest pleasure—an easy, nostalgic indulgence that’s almost effortless. It’s a little piece of childhood, reimagined with grown-up flavors and textures that still surprise you with every bite.

Hi, I’m Grace Morgan, and welcome to my kitchen. This is a space shaped by family meals, curious hands reaching for snacks, paws under the table, and recipes that come together in the middle of real life. I’m a food blogger, a mother, and a passionate pet keeper. Most days, I’m cooking with one eye on the stove and the other on someone who needs me, whether that’s a child asking for a taste or a dog hoping something might fall.


