Peanut butter smoothies can be more than just a quick breakfast. I like to think of them as a blank canvas, where textures and flavors mix in surprising ways. When I first started blending, I didn’t realize how adding a pinch of cinnamon or a handful of spinach could transform […]
Beverages
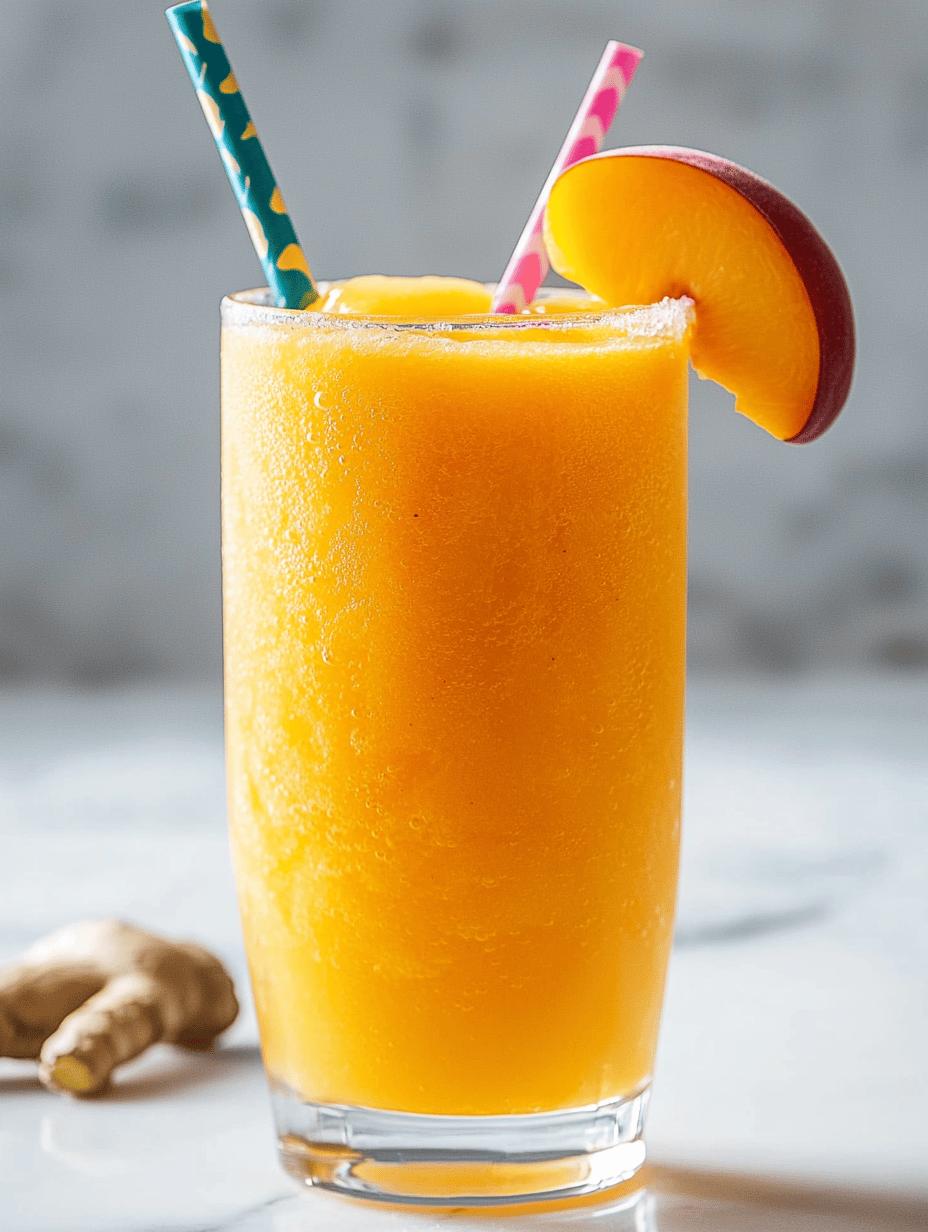
The Peach Slushie Revival: A Cool Spin on Summer Nostalgia
0 commentsImagine biting into a perfectly ripe peach on a scorching summer day, then blending that burst of sunshine into a glass. That’s exactly what this peach slushie captures—a taste of summer’s sweetest moments, frozen in time. It’s the kind of treat that turns ordinary afternoons into mini celebrations. But what […]
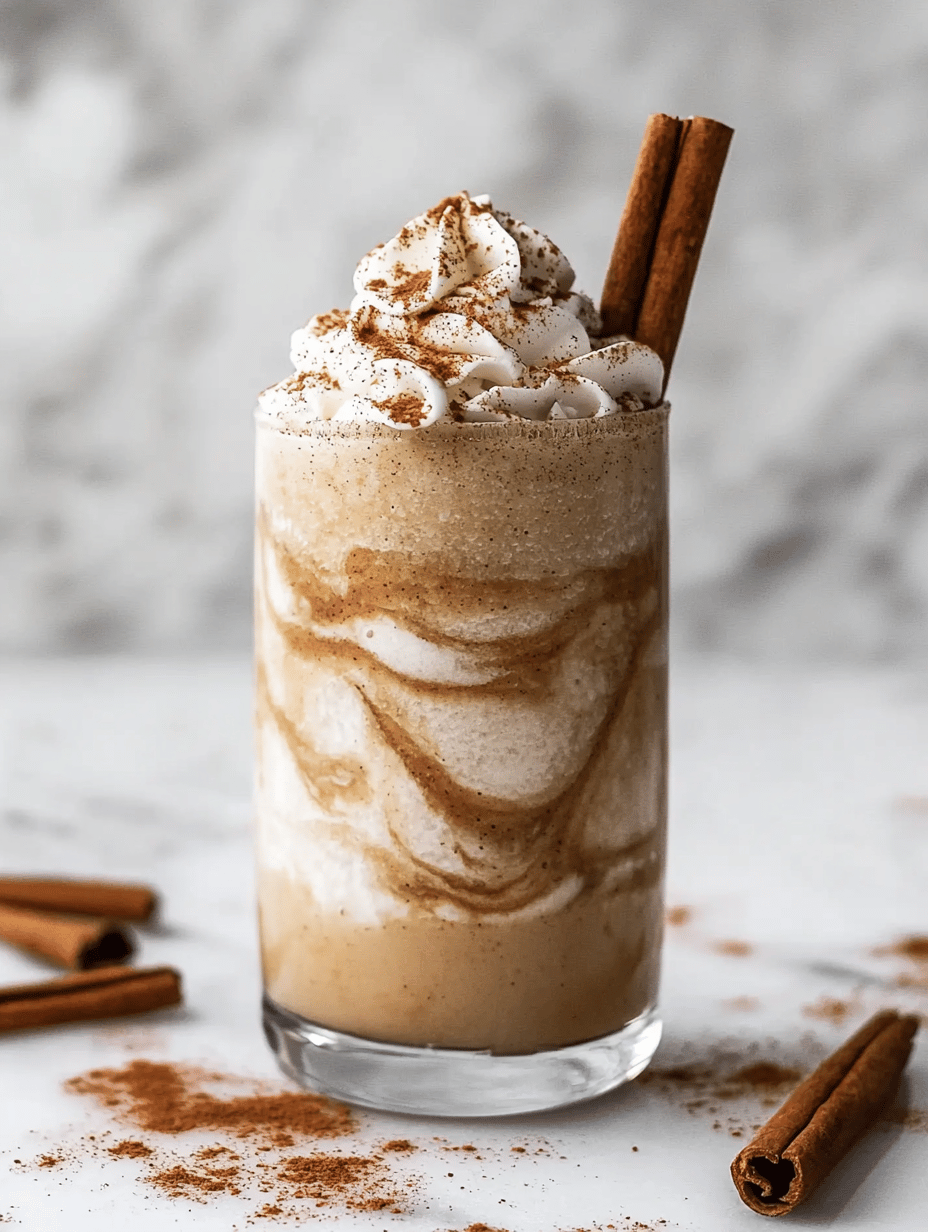
Chill Out Unexpectedly: The Unusual Magic of Cinnamon Milkshake Slushie
0 commentsOn a scorching afternoon, mundane cold drinks could feel a little dull. I decided to experiment with my usual milkshake, adding a dash of cinnamon for that unexpected warmth. The aroma alone is enough to awaken your senses—like an unexpected hug from your favorite cozy blanket. This milkshake slushie isn’t […]
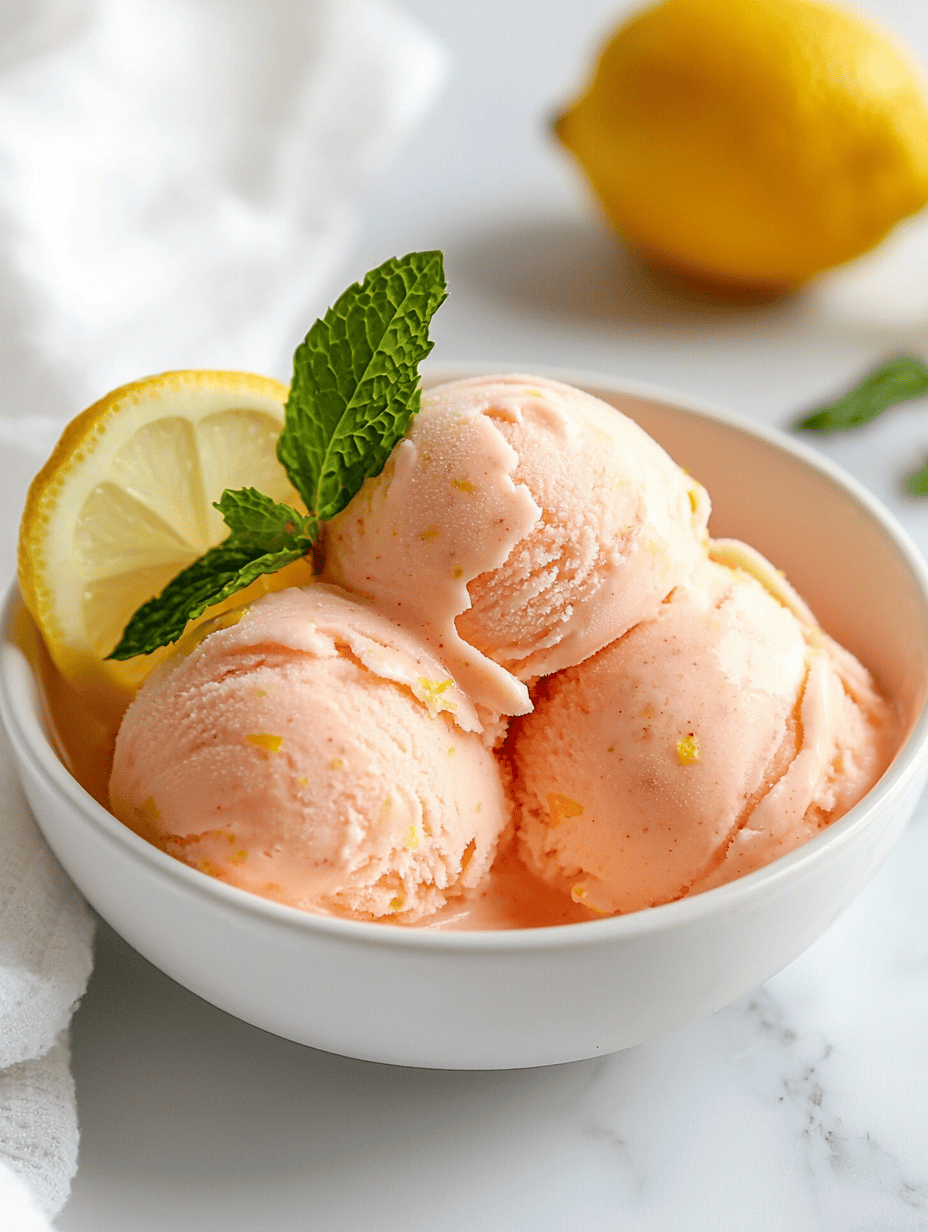
Frosé Fantasy: Unlocking the Secret Flavors of a Frozen Rosé Delight
0 commentsImagine turning a bottle of rosé into a shimmering, icy glass of lemon-kissed refreshment. This isn’t just a summer drink; it’s a culinary rebellion against the ordinary cold beverages. I recently discovered that freezing wine transforms it into a smooth, sorbet-like treat that’s perfect for spontaneous picnics or fiery patio […]