This no-bake coconut bars recipe takes me straight back to lazy summer afternoons at my grandmother’s house. She kept a secret stash of these in an old tin, and I’d sneak bites whenever I could. The intense coconut flavor and the simple process of no baking make these bars feel like a small, sweet rebellion against the busy week.
There’s something so honest about mixing ingredients in one bowl, pressing them into a pan, and waiting for that satisfying set. It’s like a little ritual that pulls you out of the rush — a reminder that sometimes, the best treats are the easiest to make and the most nostalgic to taste. Plus, they’re perfect for when you want a quick fix of coconut goodness without turning on the oven.
This recipe is inspired by my childhood summers spent at my grandmother’s house, where she always kept a secret stash of these coconut bars in her old tin. The simplicity of no-bake and the intense coconut flavor remind me of lazy afternoons, the smell of toasted coconut filling the air, and the joy of sharing something homemade that tastes like nostalgia.
The story behind this recipe
- This recipe came about on a rainy afternoon when I was craving something sweet but didn’t want to turn on the oven. I remembered my grandmother’s coconut bars — simple, no fuss, and packed with flavor. I played around with the ingredients until I found that perfect balance of chewy, crunchy, and coconutty, and now I keep these around for easy snacking.
- Making these bars reminds me how the simplest ingredients can create something special. It’s about those small moments of improvisation in the kitchen, where a handful of shredded coconut, a touch of honey, and a little patience turn into a treat that feels like a warm memory. They’re my go-to when I need a quick, satisfying bite that’s honest and unpretentious.
- heading: ‘The story behind this recipe’
Ingredient breakdown
- Sweetened shredded coconut: I love the oozy, slightly nutty aroma when toasted. If you want a deeper flavor, try lightly toasting it first.
- Honey: Adds natural sweetness and helps everything stick together. Swap with maple syrup if you prefer a more earthy note, but expect a slightly different texture.
- Coconut oil: I use it to give these bars a tender, melt-in-your-mouth feel. For a firmer bite, reduce a bit or substitute with melted unsalted butter.
- Vanilla extract: I find a splash brightens the coconut flavor and adds warmth. Skip if you want a more straightforward coconut punch without the vanilla note.
- Salt: Just a pinch to balance sweetness and enhance coconut’s natural flavor. Use sea salt for a subtle crunch and cleaner taste.
- Optional add-ins: Dried cranberries, chopped nuts, or dark chocolate chunks can elevate the mix. Just fold in gently to keep the texture even.
- Pan and lining: I use a parchment-lined square pan for easy removal. Silicone molds work well too if you prefer individual bars.
Spotlight on key ingredients
Sweetened shredded coconut:
- I love the oozy, slightly nutty aroma when toasted. If you want a deeper flavor, try lightly toasting it first.
- Honey: Adds natural sweetness and helps everything stick together. Swap with maple syrup if you prefer a more earthy note, but expect a slightly different texture.
- Coconut oil: I use it to give these bars a tender, melt-in-your-mouth feel. For a firmer bite, reduce a bit or substitute with melted unsalted butter.
Honey:
- Adds natural sweetness and helps everything stick together. Swap with maple syrup if you prefer a more earthy note, but expect a slightly different texture.
- Coconut oil: I use it to give these bars a tender, melt-in-your-mouth feel. For a firmer bite, reduce a bit or substitute with melted unsalted butter.
Notes for ingredient swaps
- Dairy-Free: Swap honey with agave syrup for a plant-based sweetness. Expect a slightly thinner texture.
- Vegan: Use coconut nectar or maple syrup instead of honey. Keep in mind, this may alter the chewiness slightly.
- Nut-Free: Replace shredded coconut with sunflower seed flakes for a nut-free version, but expect a milder coconut flavor.
- Sweetener: Substitute honey with brown rice syrup for a richer, caramel-like note, though it may be a tad stickier.
- Coconut Oil: Use melted butter if you’re not dairy-free. The bars will be a touch richer and less tender.
- Add-ins: Dried fruits or chopped nuts can be swapped or omitted. Dried cranberries add tartness, nuts add crunch.
- Pan Type: If you don’t have a square pan, use a flexible silicone mold or a loaf pan, adjusting the thickness accordingly.
Equipment & Tools
- Mixing bowl: To combine ingredients if needed later or for prep.
- Small saucepan: To gently melt coconut oil and incorporate ingredients.
- Parchment-lined pan: To hold and shape the mixture as it sets.
- Spatula: To stir, press, and smooth the mixture evenly.
- Knife or pastry cutter: To cut the set mixture into bars or squares.
Step-by-step guide to coconut bars
- Gather your equipment: a mixing bowl, a small saucepan, a parchment-lined square pan, and a spatula. The pan should be around 20×20 cm (8×8 inches).
- In the saucepan, gently melt 1/4 cup (60 ml) coconut oil over low heat until just liquid. Keep an eye on it to avoid burning.
- Add 1 1/2 cups (135 g) sweetened shredded coconut to the melted coconut oil. Stir well until fully coated and fragrant, about 2 minutes.
- Pour in 1/4 cup (85 g) honey and a teaspoon of vanilla extract. Stir briskly to combine everything into a sticky, fragrant mixture. If it’s too thick, warm it slightly to loosen.
- Transfer the mixture to the prepared pan. Using a spatula or your fingers, press it evenly into the pan, smoothing the top. Pack it down firmly.
- Place the pan in the fridge for about 2 hours, or until the mixture is firm and set. If you’re in a rush, pop it in the freezer for about 45 minutes.
- Once set, lift the coconut mixture out of the pan using the parchment paper. Cut into bars or squares of your preferred size.
- Optional: For extra crunch, sprinkle with a pinch of sea salt or dip the edges in melted chocolate before setting.
- Let the bars rest at room temperature for 10 minutes before serving. This helps them soften slightly and enhances flavor.
Chill the bars in the fridge for at least 2 hours until firm. Remove from pan, cut into desired shapes, and serve. Store leftovers in an airtight container in the fridge for up to a week.
How to Know It’s Done
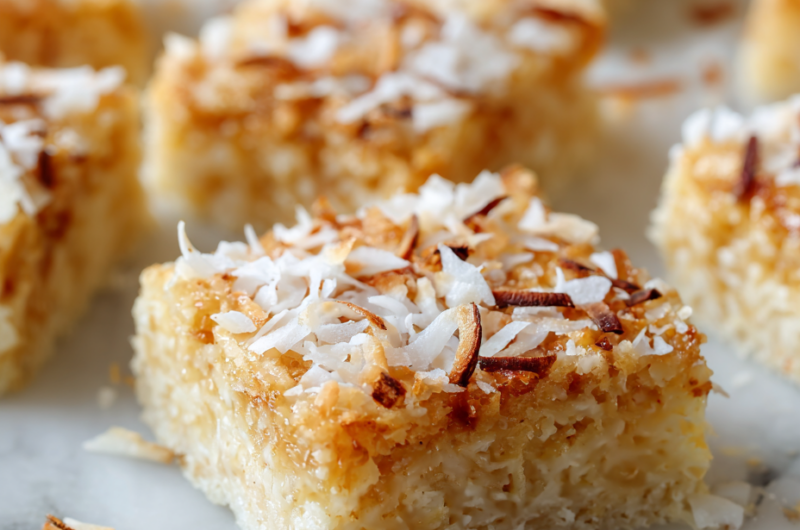
- Color: Coconut mixture should be golden and fragrant before pressing.
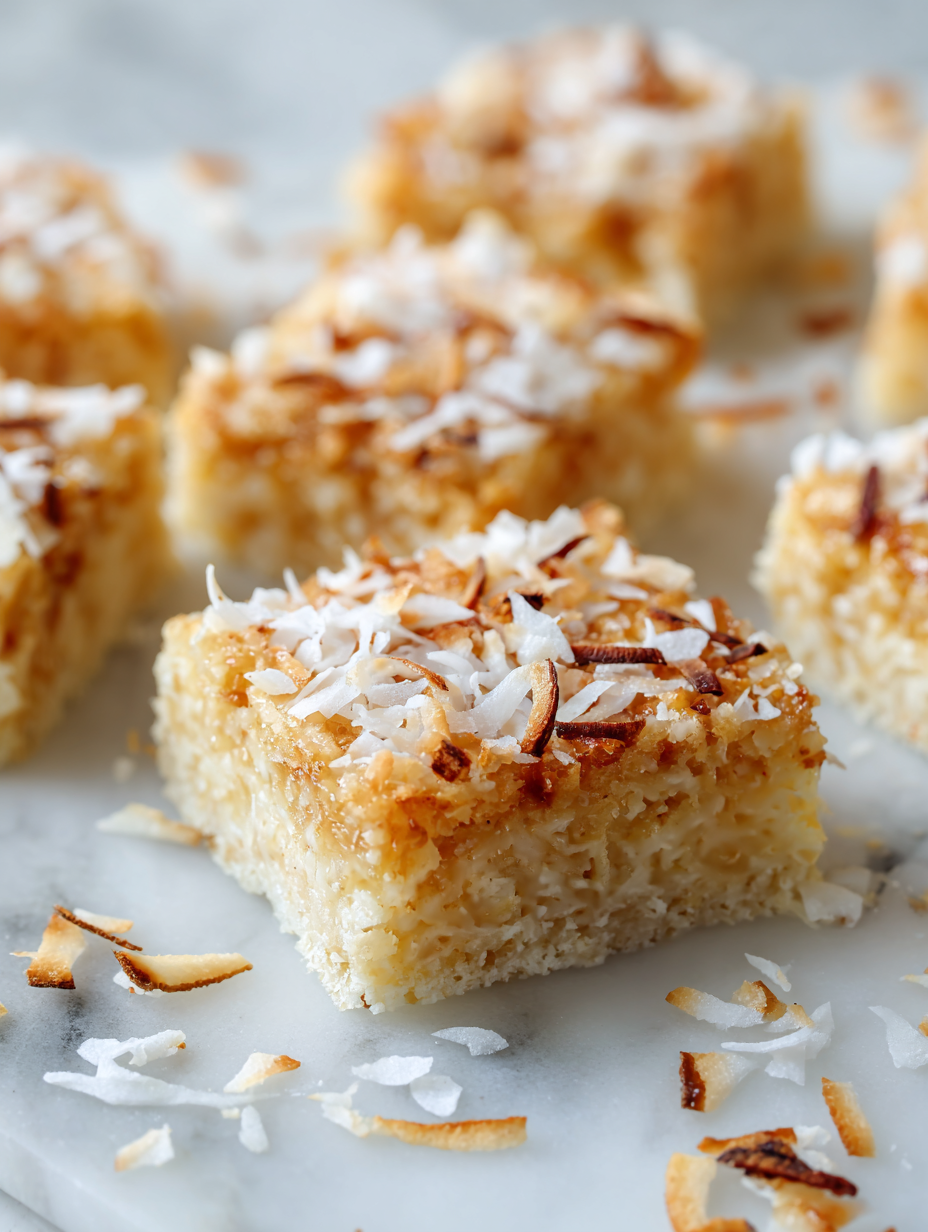
- Texture: Bars should be firm and hold shape when cut, with a slight chew.
- Appearance: Edges should be clean and even, with a glossy top if chocolate is added.
No-Bake Coconut Bars
Ingredients
Equipment
Method
- Gently melt the coconut oil in a small saucepan over low heat until just liquid and fragrant, about 1-2 minutes.
- Add the shredded coconut to the melted coconut oil, stirring well until every strand is coated with the warm oil and fragrant, about 2 minutes.
- Pour in the honey and vanilla extract, then stir briskly until the mixture becomes sticky, fragrant, and well combined.
- Transfer the mixture into a parchment-lined square pan. Use a spatula or your hands to press it firmly and evenly into the pan, ensuring it’s compact and smooth on top.
- Sprinkle a pinch of sea salt over the mixture if desired, then place the pan in the fridge for at least 2 hours, or until the bars are firm and set.
- Once set, lift the coconut mixture out of the pan using the parchment paper, and transfer to a cutting board.
- Use a sharp knife or pastry cutter to cut into bars or squares of your preferred size, wiping the blade between cuts for clean edges.
- Arrange the bars on a serving plate, and enjoy immediately or store in an airtight container in the fridge for up to a week for optimal freshness and chewy texture.
Pro tips for perfect coconut bars
- Bolded mini-head: Use a gentle heat → Keep the coconut oil melting slowly to prevent burning and keep the aroma clean.
- Bolded mini-head: Mix thoroughly → Ensure every strand of shredded coconut is coated with honey and oil for consistent texture.
- Bolded mini-head: Press firmly → Use the back of a spatula or your hands to press the mixture into the pan for an even, compact bar.
- Bolded mini-head: Chill completely → Let the bars rest in the fridge for at least 2 hours until fully set and easy to cut cleanly.
- Bolded mini-head: Cut with a sharp knife → Warm the knife slightly before slicing to get smooth, crumb-free edges.
- Bolded mini-head: Store airtight → Keep bars in a sealed container in the fridge to maintain freshness and chewiness.
- Bolded mini-head: Add a sprinkle of salt → A tiny pinch on top before setting enhances the coconut flavor and balances sweetness.
Common mistakes and how to fix them
- FORGOT to level the mixture → Press firmly and evenly to avoid crumbles.
- DUMPED in too much honey → Use measured amounts to prevent overly sticky bars.
- OVER-TORCHED coconut mixture → Keep heat low and stir constantly to prevent burning.
- FAILED to chill fully → Refrigerate at least 2 hours for proper setting.
Quick fixes and pantry swaps
- When mixture is too sticky → Splash in a little warm water, stir until smoother.
- If bars are crumbly → Patch with a light drizzle of honey and press again.
- Over-torched coconut → Shield with a lower heat, stir constantly to prevent burning smell.
- Forgot to chill fully → Place in fridge for an extra 30 minutes for better firmness.
- When mixture isn’t spreading evenly → Use a piece of parchment to smooth out the surface.
Prep, store, and reheat tips
- Prepare the coconut mixture in advance and keep it refrigerated overnight for easier pressing and enhanced flavor.
- Store the finished bars in an airtight container in the fridge for up to a week, where they stay chewy and coconut-rich.
- For longer storage, freeze the bars for up to a month; they firm up nicely and maintain flavor, just thaw slightly before serving.
- Reheat individual bars briefly in the microwave—about 10 seconds—until just warm and fragrant, perfect for that fresh coconut aroma.
Top questions about no bake coconut bars
1. How do I know when they’re set?
The bars should be firm but chewy, with a slightly glossy top. If they crack when cut, they need more chilling.
2. What’s the right texture for the mixture?
A good sign is when the mixture feels cohesive and holds together when pressed. They should be easy to slice without crumbling.
3. Can I use dried unsweetened coconut?
Use fresh shredded coconut for the best flavor. Toast it lightly if you want a richer, nuttier aroma.
4. Can I substitute honey with something else?
Yes, but you’ll want to add a bit more sweetener to compensate for the unsweetened flavor. Taste as you mix!
5. How should I store these bars?
Store leftovers in an airtight container in the fridge for up to a week. They stay chewy, with a bright coconut aroma.
6. Can I freeze these coconut bars?
Yes, freezing is fine. Wrap the bars individually, then freeze up to a month. Thaw in the fridge or at room temp.
7. My mixture is too sticky; what do I do?
If your mixture is too sticky, sprinkle in a little more shredded coconut or chill it a bit longer before pressing.
8. How do I get clean slices?
Use a sharp knife warmed slightly under hot water for clean cuts. Wipe and re-warm as needed between slices.
9. My bars aren’t firm enough, what’s wrong?
If the bars aren’t firm enough, extend chilling time or add a little extra coconut oil to improve setting.
10. How can I boost the flavor?
Adding a pinch of sea salt on top before chilling enhances the coconut flavor and balances sweetness beautifully.
These no-bake coconut bars are a reminder that sometimes, the simplest ingredients make the most honest treats. The aroma of toasted coconut and the chewy, crunchy texture offer a little escape from the rush of everyday life.
Whenever I make them, I’m transported back to childhood afternoons of sneaking bites at my grandmother’s house. They’re easy, nostalgic, and perfect for when you need a quick, genuine coconut fix—no oven required.

Hi, I’m Grace Morgan, and welcome to my kitchen. This is a space shaped by family meals, curious hands reaching for snacks, paws under the table, and recipes that come together in the middle of real life. I’m a food blogger, a mother, and a passionate pet keeper. Most days, I’m cooking with one eye on the stove and the other on someone who needs me, whether that’s a child asking for a taste or a dog hoping something might fall.


